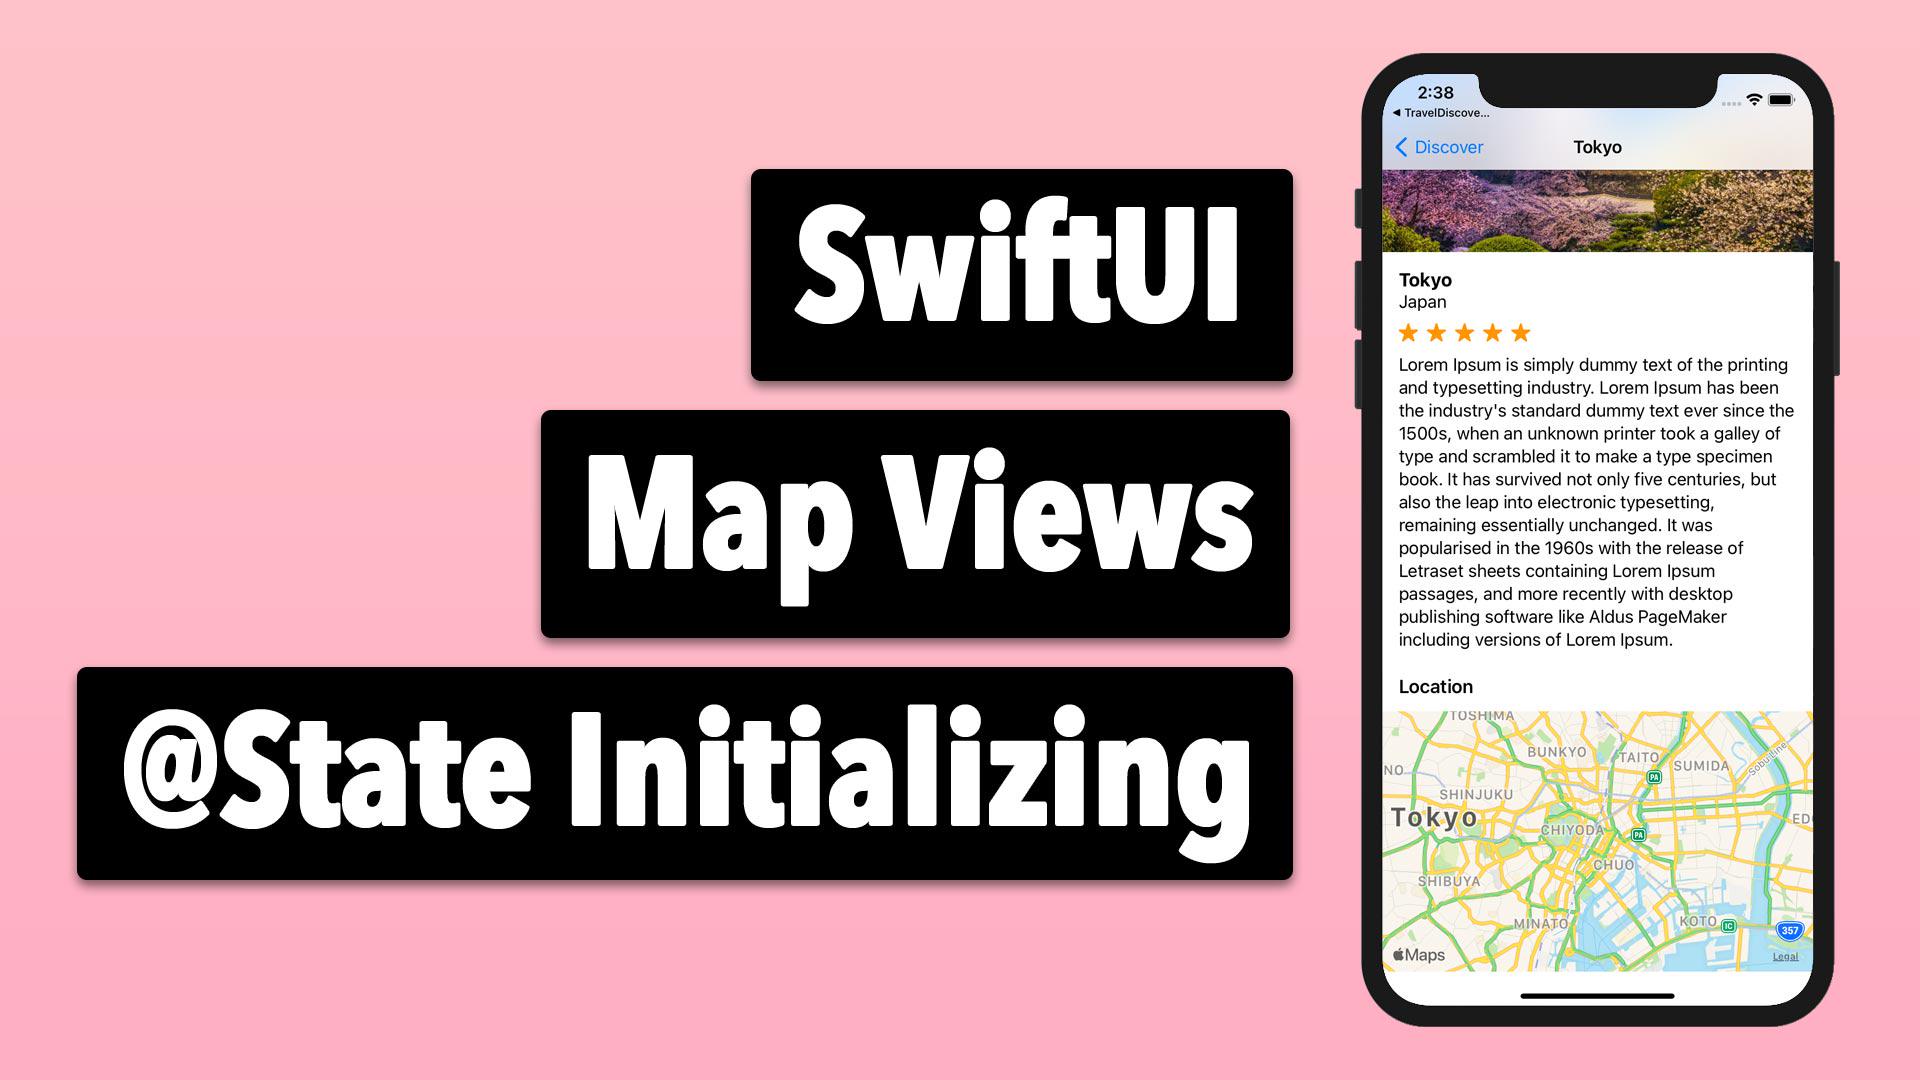
SwiftUI Map Views and @State Initialization
SwiftUI Mastery Travel Discovery
In SwiftUI 2.0, showing a Map view is much easier now. First you'll have to import MapKit and then create a @State region variable. Once we set this up, I'll show you how to update your application to match the regions correctly for each screen you are showing. Doing this will require initializing our @State variable separately.

Comments (3)
Aidan Egan
2 years ago
why does region have to have an underscore in this line go the initialiser of this line : self._region = State(initialValue: MKCoordinateRegion....
Brian Voong
2 years ago
Daryl Wong
2 years ago
Just so we don't have to type so much... let destinations: [Destination] = [ .init(name: "Paris", country: "France", imageName: "eiffel", latitude: 48.859565, longitude: 2.353235), .init(name: "Tokyo", country: "Japan", imageName: "japan", latitude: 35.679693, longitude: 139.771913), .init(name: "New York", country: "USA", imageName: "newyork", latitude: 40.71592, longitude: -74.0055), ]
KyloR_
2 years ago
Hey Brian! So in this video, adding the map with a frame made my text cut off again..! After a quick search I came across adding `.fixedSize(horizontal: false, vertical: true)` to the text component to allow it to expand as much as it needs vertically. Seemed to work great for me, do you see anything wrong with this solution though? Thanks!
Brian Voong
2 years ago
HELP & SUPPORT